Show Posts

This section allows you to view all posts made by this member. Note that you can only see posts made in areas you currently have access to.


Messages - Swede70

Pages: 1 ... 19 20 [21]
301
Greeting Jon,
 
Indeed, the water thermostat housing will be painted gray, although at present I'm gathering parts from different sourced to judge how they'll mate.  What I found was sourced from an ERTL Authentics '67 Impala SS and bears orange paint I couldn't remove, hence the finish noticed.  May not be able to do a convincing chrome oil inlet tube, know it was small block Chevrolet dress up package issue, whereas photo seems to suggest either a dirty tube or something unpainted.  Thoughts?

My dashboard is nearly together, combining the package tray of the '69 dash with the pad and instrument panel of a '67 Maisto rendition of the topic.  I reused the standard '69-model GMP mounts, hence a 'bolt-in' mod. if you will.  I always try to 'keep the mods on the part', leaving everything else untouched even if it results in an extensively modified subassembly.  Best to respect standard mounting points, reuse structure, add rather than remove strength. 

Standard vinyl 'braided' lines with aircraft fittings to be removed entirely, whereas I kindly thank you for your informed input.  My photos to compliment this post were quite a mess, hence I opted to delete the same.  I think I'll study a few color Penske Donohue USRRC Lola photos reproduced in period issues of Sports Car Graphic from '67 to ponder what might have been Penske build practice translatable to the first-year SCCA Trans Am effort with the Camaro.  Slightly different personnel behind each build, but perhaps something to learn anyhow.

I'll soon have a choice between two 4BBL cowl induction setups for the '67 Camaro, one tooled by Maisto, the second by Lane.  Neither will be perfect, whereas I hope to modify that which I'll base matters upon in the fashion you've articulated.  Happily the assembly isn't chromed, hence much work can be performed without drawing betraying the extent of mods. done for extremely close inspection. 

Lastly, I may go one of two directions with the deck lid.  Should I source a solid decklid from another GMP release, then the body will be entirely refinished in a darker blue appropriate for the '67 season.  Pity I didn't consider undertaking this work prior to applying what are quite scarce waterslide decals.  The least-resistance option will be to remove the plastic insert and fashion from scratch an elaborate flush-fit plug with revised and corrected inlet detail on a smaller scale.  The inlet will be lifted up, whereas somehow, some way a round 'slam shut' hinged aluminum top will be fabricated and fitted. Thanks - I really appreciate the fellowshiip and interest afforded. 

M.K.

302
Thanks for the kind notice and reception,

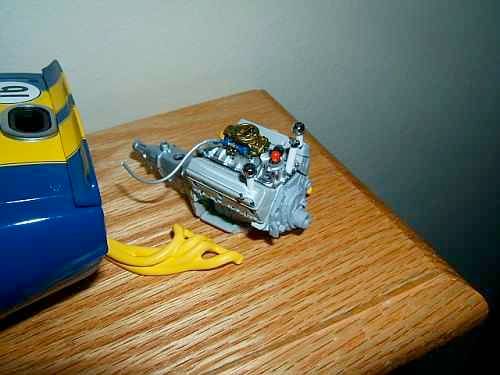
A new photo, a touch fuzzy, but what is possible at present.  Single 4BBL '67 engine mock up, intake shorn of erroneously reproduced cast-in water intake neck appropriate for later cross ram, oil inlet tube and cap installed, 'definned and stamped' valve covers in place, oil injection nipple added to valve cover, rudimentary oil breathers added (chrome finish to vanish - each will be cast in resin as good breathers in 1:18th are quite rare and unquestionably useful).  Vents and hoses associated with each breather tube to come.  All of this is pretty raw.

Hope to alter paintwork discreetly concerning finish on valve covers versus block; i.e. from photo observed elsewhere on this site, it does appear the valve covers were fabricated in-house, whereas the long block expectedly came from Traco and wears a discreetly different shade of gray paint.  Hope too to source some pale flat yellow, perhaps model railway issue of some kind.  Headers appear chalky in the period photo, even allowing for the peculiarities of period color process.  Again, thanks for the kind attention.  


Mike K.

303
Terrific post! Thanks for taking the time to do so. You got an eye for the details and I am certainly a fan of that. I think you'll find some others of the same mind here as well. When I heard that GMP was working on these I contacted them and tried everything I could to get them to not do the gray on the '67 model since it was not authentic for that particular car. Told them about the incorrect dash and numerous other details. In effect, they thanked me for my efforts, sent me several pre-production samples as an extra thank you (which I indeed appreciated), but cranked them out just as they were. I was very tempted to pull my '67 model apart and at least redo the gray to black but that hasn't happened. I'm not a modeler of your caliber but I do enjoy looking at the results of your efforts. I like to think I could do something similar but know that is too far down on my priority list to get to that level of professionalism. Show us some more details! How did the '67 and '68 dashes turn out?


Dear Jon,

Quite curious what you would have asked GMP to correct back in the day.  Short impressions of lacks include wrong contour on ARE Torq Thrust wheel lips, '69 dashes on everything, wrong interior level on the '69, wrong valve covers, wrong cage '67 and likely off on '68, so-so Minilites (especially wheel spoke design), what seem Goodyear rain tires versus dries fitted across the range, not the best tire size either front or rear, pedal dress-up just seems wrong, etc.  I know that the '67 'over the top' stripes need to come down across the back of the tailpanel and rear valence, although not looking at all forward to fixing that. 

Poor style not to relate that I greatly appreciate what they did successfully capture, but all the same, curious what quickly came to mind in your analysis those years ago.  Certain I'm overlooking things, whereas after a time I just fail to see what may be plain to an expert.  Kind regards...

Mike K.

304
Thanks for the kind interest displayed,

(Good 1:18 GMP Camaro subassembly photographs are few as when most work undertaken, I did not have a digital camera.  As each Camaro is overhauled in anticipation of final finish work, I'll have more topic-specific photo images to share.  Thanks...  M.K.)


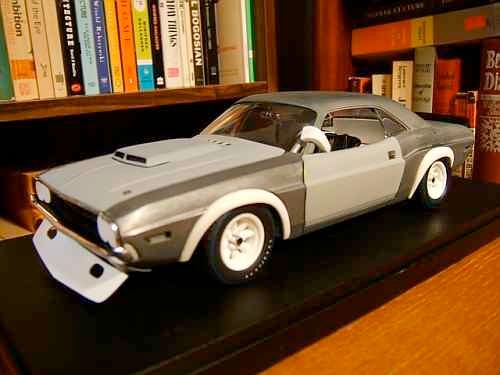
...'70 Autodynamics Sam Posey Challenger.  Most conversions seen online are 1:18 ERTL-based, whereas this is a 1:18 Hwy. 61-based project.  Hand-sculpted flares, massively complex to do from scratch.  '68 Mustang flares to be done in the same fashion.


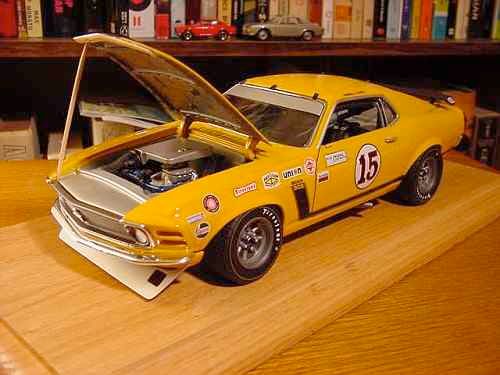
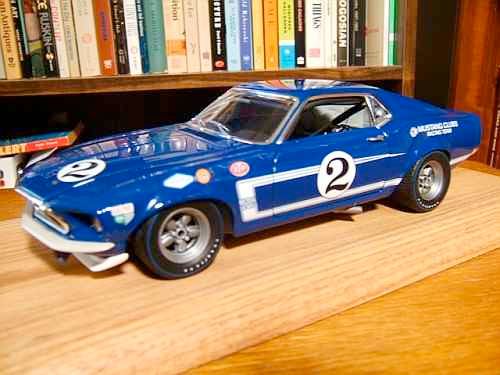
...'70 BME Parnelli Jones Boss 302.  Revised from1:18 Welly '71-season Follmer release.


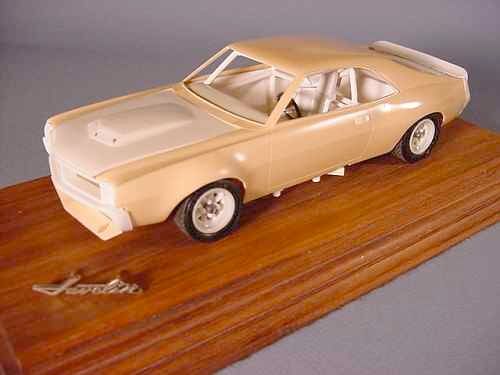
...'70 Penske Donohue AMC Javelin.  Jimmy Flintstone resin shell combined with Jo-Han chassis - a quite complex project.  Like my Racemark seat?  Not sure if I should go will a late-season car, hence early kit front spoiler seen in place.


...'69 Penske Donohue underhood, needs stamped steel valve covers, firewall out, accessories and hosing/wiring to come.


...69 Shelby Racing Co. Dan Gurney Laguna Seca.  Nice one-off ARE CP-200/Trans Am wheels.  Wheels done in three parts but for lugs.


...'68 Shelby Racing Co. mockup.  Just tires and wheels, ride height - nothing more.  Will love to do the oblong headlamp block out plates.


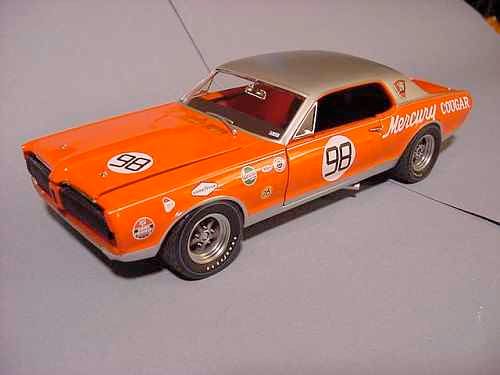
...'67 BME Dan Gurney Cougar late-season versus early.  No interior yet, but largely happy.  Fender extensions hacked off with a saw, body paint touched in.  Very, very butch in appearance.


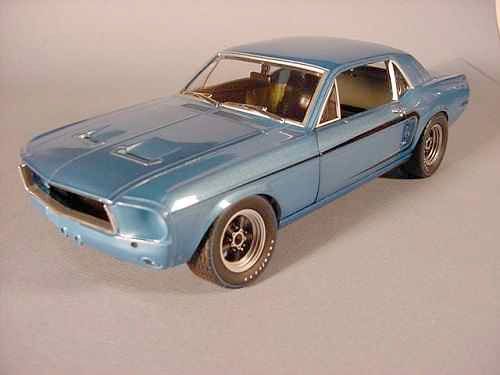
...'67 Shelby Racing Co. Jerry Titus.  No interior yet, also largely happy.  If things come undo, well, J. Titus 'rolled his own' more than once in '67.


...'67 with 1:18 Hwy. 61 '69 Camaro-sourced 'stamped steel' fuel tank fitted versus standard GMP fitment.  Not much to see, but day-to-day stuff if you will.

-

Primative point-and-shoot camera with limited manual controls restricts what detail I can capture, whereas a few further photographs of period SCCA Trans Am projects are seen above.  For '67-'68 dashboards, I have a pair of 1:18 Maisto Camaro dashboards which may be mated to the mounts found on the GMP dashboards.  Wish parts cars were cheap, but 1:18 Lane Camaros start at about $70, 1:18 ERTL Authentics Camaros start at about $40, whereas 1:18 Maistos are in the $30 range.  A tiny network of friends who also kitbash diecasts will afford spares, and how thankful I am.  

I do cast standard and modified parts in two-part resin within the space of urethane molds, largely as a means to economy.  What are seen here are mainly pre-assembled and pre-finished diecast models evidencing more than a few errors that this poster has opted to correct.  Some work is quite straightforward and simple, whereas other aspects quite frankly are not.  Bodies are white metal, chassis largely plastic, tires rubber.  Architectural sheet and rod plastic used to scratchbuild that which is missing, whereas brass and aluminum is also employed as required.  Select paintwork is done upon subassemblies pulled clear of the overall work, whereas at other times items must be masked 'in situ.', this lending yet another dimension to various tasks undertaken.  Hmmm - should I attempt to change this for risk of destroying a $120 model?  Decisions, decisions...

Quite hard to see, but on my '69 one may discern tiny 'dymo' labels for the electrical switchgear, an aircraft 'ON/OFF/ switch with red plastic cover, as well as the dash pad covering.  Many details simply can't be seen but are nevertheless there; i.e. the 'swiss-cheesed' dead pedal structure on the '69.  My '69 is currently without wheels, waiting if you will for 'new cast' '69 Minilites with properly shaped spokes complete with more vibrant, almost earthy yellow paint finish applied.  Will install 'stamped steel' valve covers on my '69 as well, whereas what photos are seen here are quite old.  Tires pulled from '69 now fitted to dauntingly complex '70 Autodynamics Challenger - my most ambitious project by far.  I move back and forth across projects, for finishing them seems a terrible bore!  Again, my thanks and updates to come.

Mike K/Swede 70

305
Greetings,

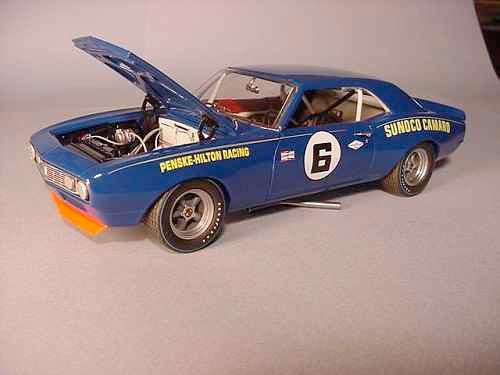
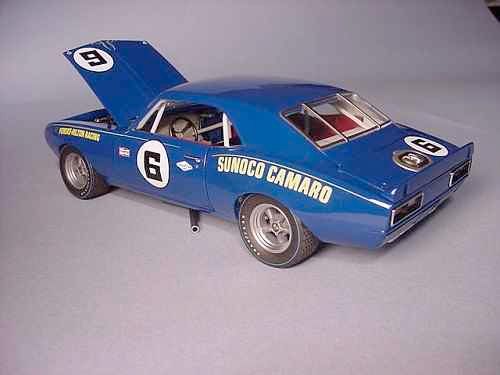
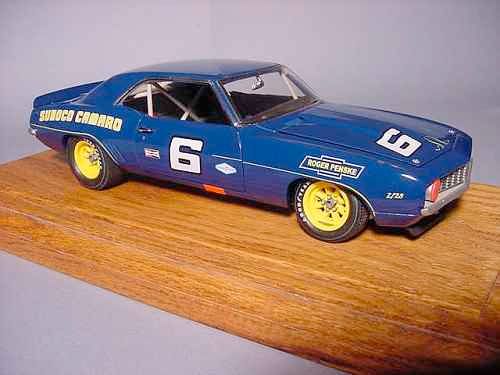
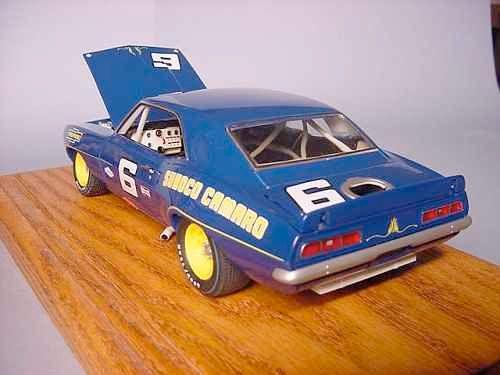
Likely falling under the heading of memorabilia, some time ago I purchased an example of each 1:18 Penske Donohue SCCA Trans Am Camaro that GMP produced and sold during the mid-2000's.  Then I was alternately impressed and disappointed for what was captured, and what was not, whereas now I'm trying to fix everything.  For example, each seem to have a '69 dashboard, whereas all underhood details but for the induction system seem oriented towards an older interpretation of how one of the '69 Penske Donohue Camaros was first restored.  Not a terrible effort overall mind you, but not quite all that I wished for as delivered.  I'm sure others here have thought the same.  

Anyhow, each can be modified, and although incomplete as a trio, below will be seen a few in-progress photographs.  I'm curious if others have attempted mods. much as I have, and specifically, what impressions and ideas may be exchanged or offered up, etc.  Wonderful to notice this unexpected vintage SCCA Trans Am web presence oriented to the Camaro crowd, and very thankful for it.  Hope I do to post a few messages and photographs to lend to the sense of community present here.  Thanks and with warm regards...

Mike K.


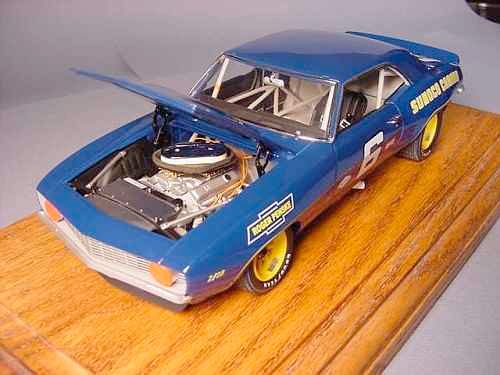
...'67 Marlboro, MD conversion, incomplete and a bit raw.  Interior/chassis/underhood painted semi-gloss black, markings revised, more to come in the form of a Lane's Performance '67 4BBL cowl induction air cleaner, '67 standard accessory drive, upright radiator, yellow-painted headers, 'stamped' valve covers sans fins, etc.  Entire gray paint application found under roof, on door jams as well as door inner structure removed - incredibly tedious this.  Chrome drip rail tampo print application removed.  Front spoiler removed and reshaped prior to respray of same - quite a bit shorter now.  Thanks so much to the poster who uploaded the underhood picture of this topic within the space of the first thread.  I'd seen the same online, had lost just where I'd seen it, and was heartened to discover this new website addition as I continued my search for the image in question.


...'68 with revised 'SUNOCO CAMARO' markings situated higher up, red interior panels (sprayed within vinyl interior restoration paint color matched to suit), repainted wheels (sans lugs at present), revised markings, rear screen sans retention straps.  Chrome drip rail tampo print application removed.  Clearly an 'engine out' effort, for the engine is nowhere to be seen.  1:18 Maisto '68 Z/28 grille cut and installed in place of horribly-rendered standard part, headlamp covers drilled out for each of three 'dimples' seen on same within period photographs, reshaped and resprayed front spoiler.  Hood hinges painted black, undersurface now painted blue but may paint black given a color '68 Sam Posey image viewed elsewhere on this website.  Obviously a work in progress.


...'69 roughly a Riverside entry but for missing C-pillar Diehard battery sponsorship decals.  Foilwork as well as rubber window gasket detail.  Bumpers removed, overiders on rear bumper sanded off, front and rear refinished.  Grille surround painted gray, grille removed and stripped of chrome, with the same being painted argent.  Markings revised, jack fluorescent 'flashes' done in R/C aircraft vinyl tape, sway bars and mounts to be scratch-built.   Much done that cannot be accurately captured in so short a space.  Fuel inlet 'trap door' setup to come.  Single upright wiper likely the very last thing that will be set in place.  Thanks for inspecting this post.  

M.K.

Pages: 1 ... 19 20 [21]