Show Posts

This section allows you to view all posts made by this member. Note that you can only see posts made in areas you currently have access to.


Messages - Hans L

Pages: 1 ... 17 18 [19] 20 21 ... 26
271
Restoration / Re: am/fm radio repair
« on: October 16, 2013, 04:17:13 PM »
What did this guy charge you for the radio resto job???    Don

It was very reasonable - in the $200 range.  I can't remember the exact amount.   Feel free to contact him and he'll provide a quote range over the phone.

272
Originality / Re: date codes on T3 lamps?
« on: September 25, 2013, 08:50:29 PM »
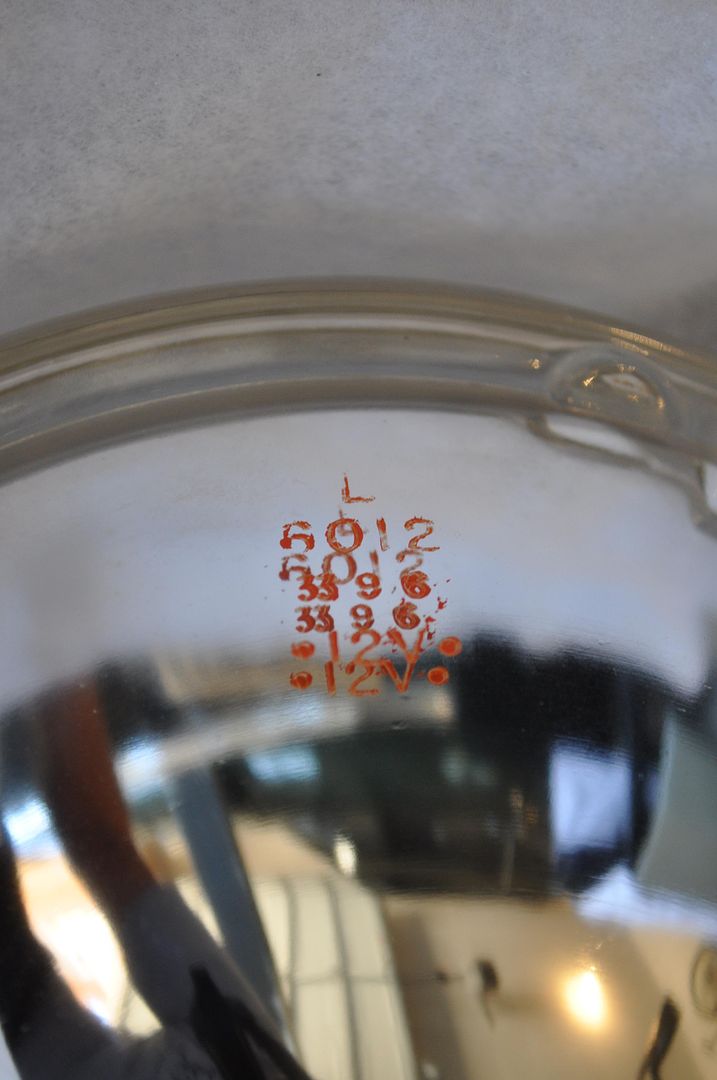
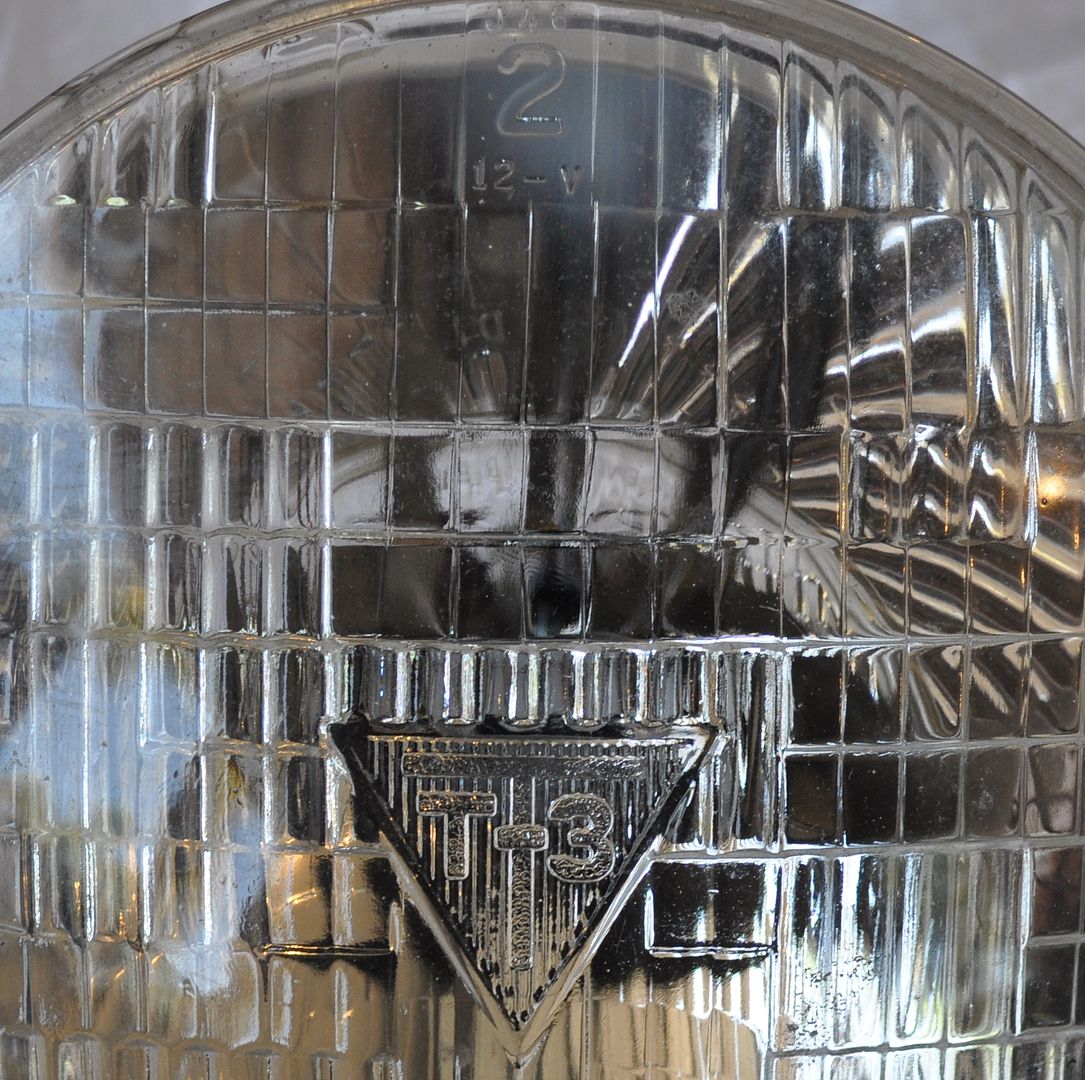
OK.   that's what I confused with a 'date code'..  the code in the glass.    The two I bought in Charlotte, and the one I already had on my car had differing 'glass codes'..  and no stamped codes on back (already cleaned off I suppose)..

You're referring to these numbers/lettes at the top, correct?


273
Restoration / Re: am/fm radio repair
« on: September 25, 2013, 03:34:10 PM »
Hans, I am amazed how nice the radio turned out. Looks perfect. George

Thanks George!   Can't wait for the day the car is done and I can listen to some tunes getting drowned out by the 302 revving up!

274
Restoration / Re: am/fm radio repair
« on: September 25, 2013, 04:30:05 AM »
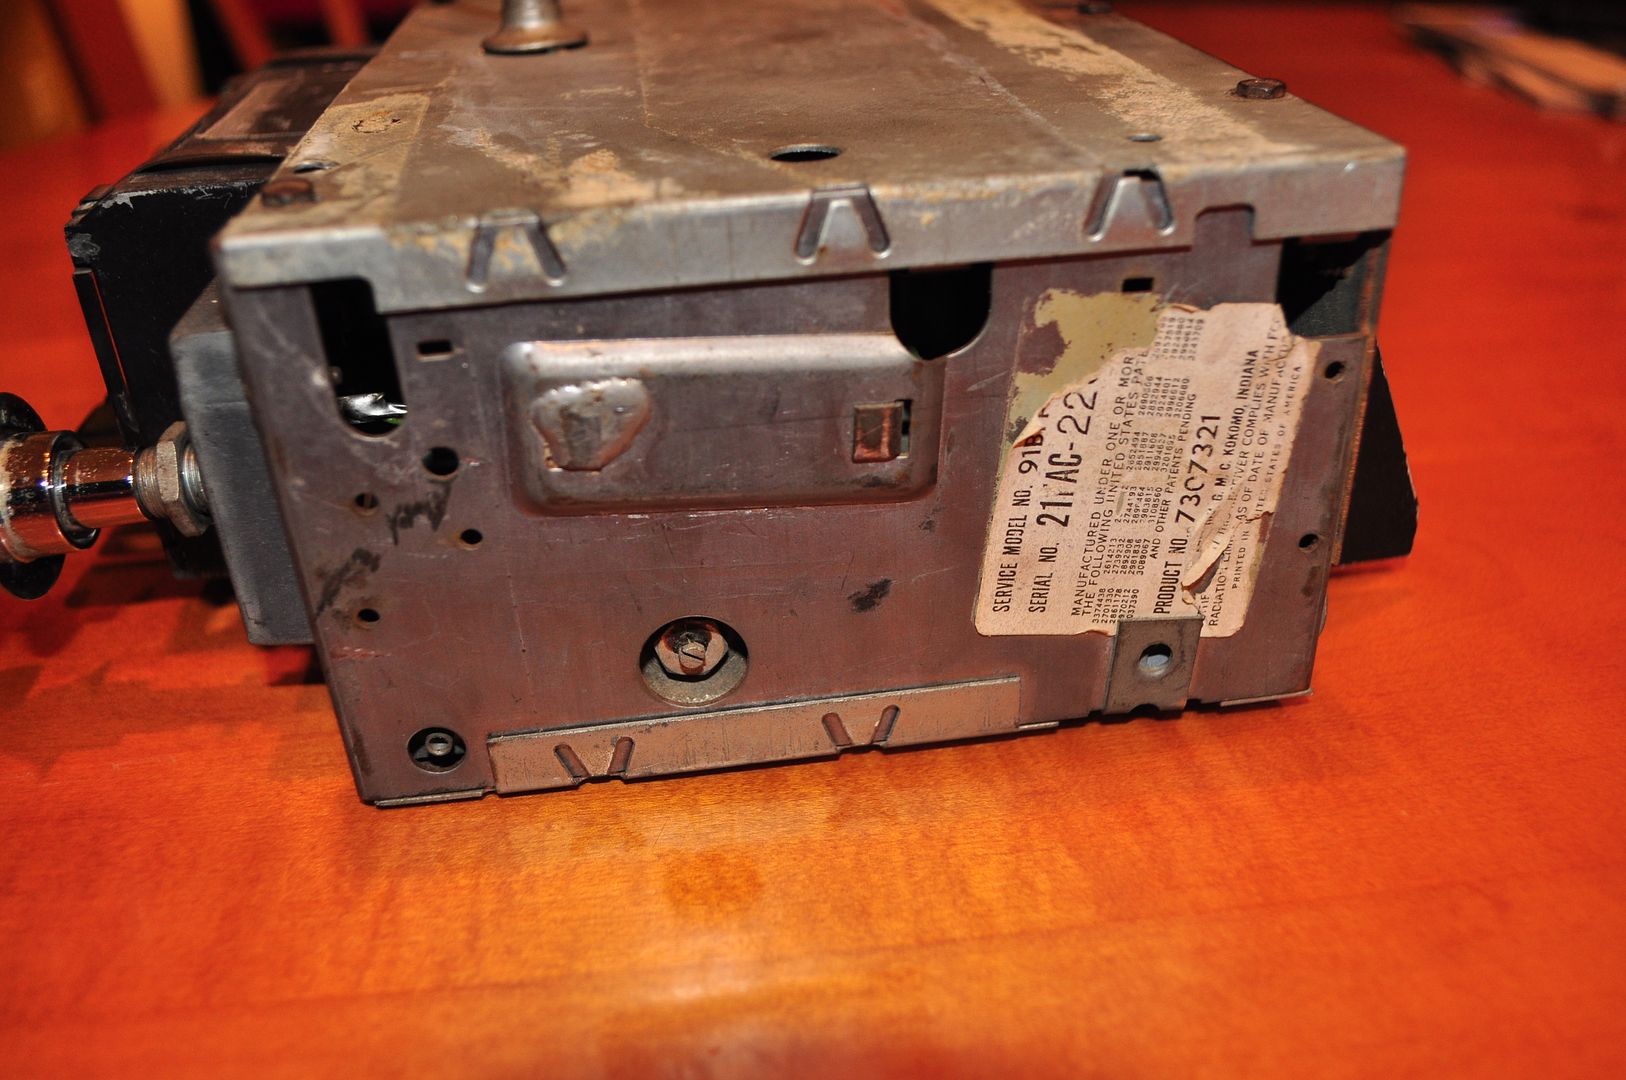
Hans L, so is your radio dated February 3RD 1968?? ... Danny

I have no idea where there is a date code on the radio. Curious where it is.

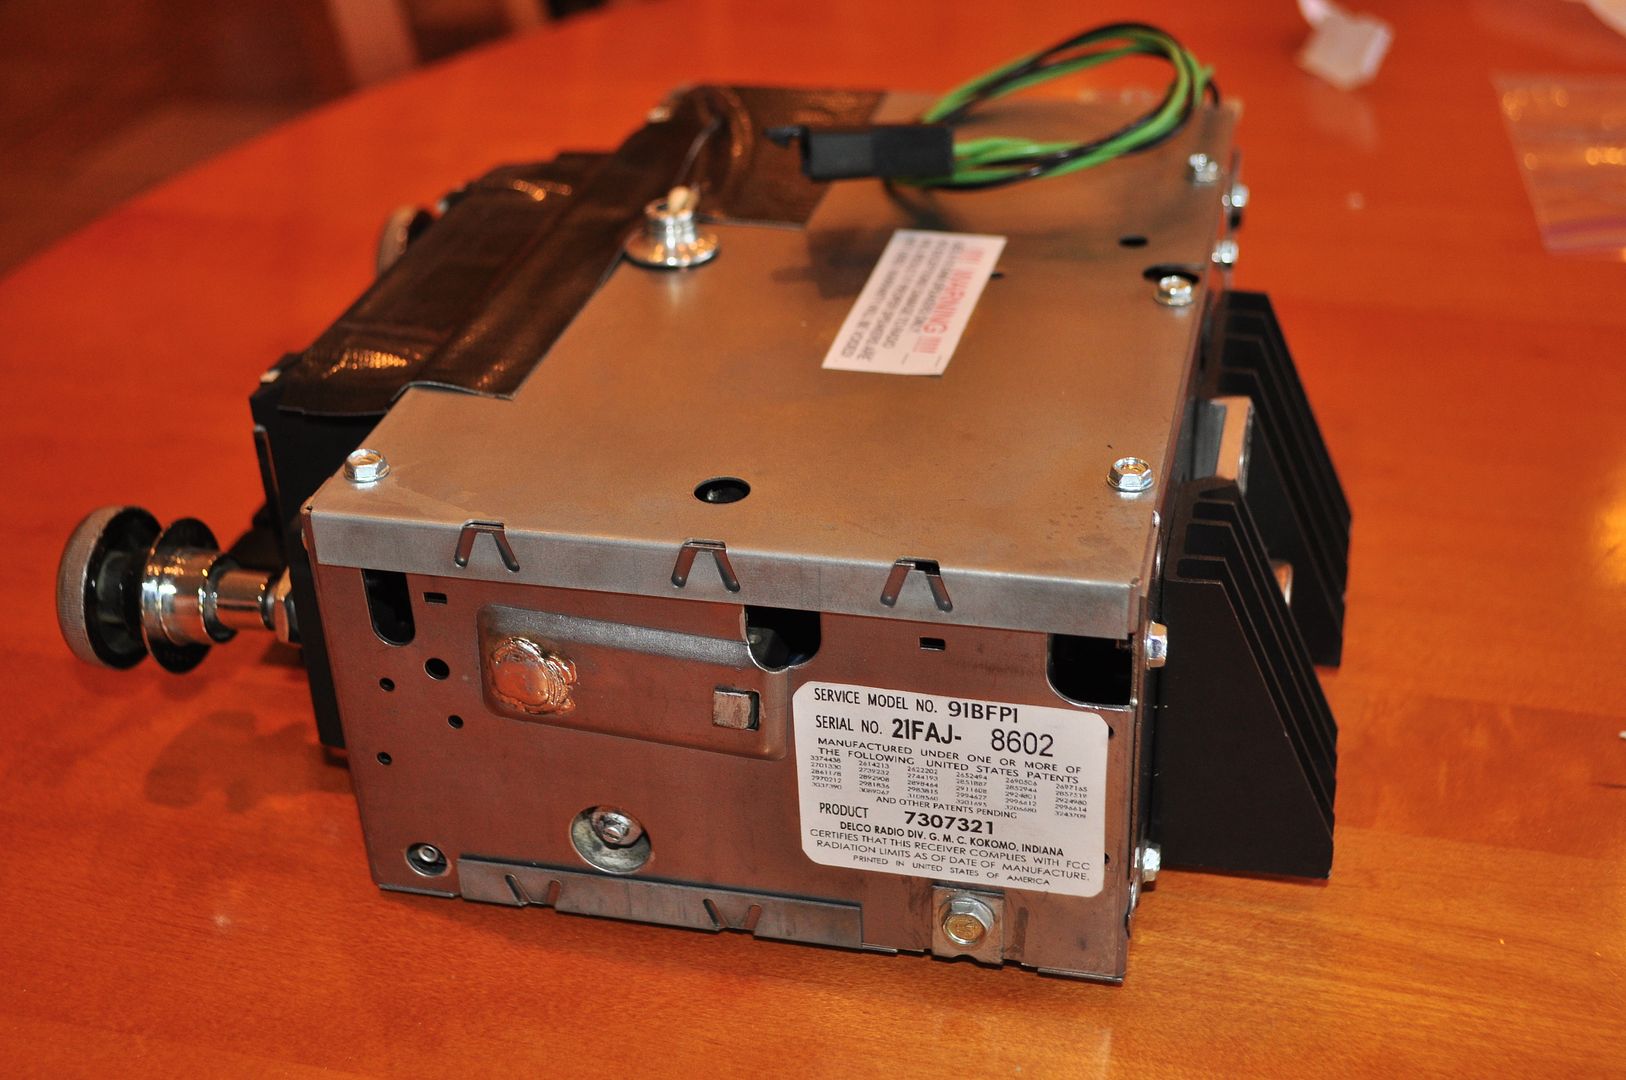
Per the Chevelle Radio Tech site, http://www.chevelles.com/radiotech/69_72tags.html  it decodes as a '69 AM FM and is correct for a Camaro, if I interpet their decoding correctly.   I have not been able to find a site or place that tells where the date code is.  Clearly the ID tag on the restored version is a reproduction tag.   

From the Chevelle Site:

"Example: the correct model number for a 1969 Chevelle AM/FM pushbutton radio is: 91BFP1.


Using the decoding information from above, you might be confused by the "B" in the model number since "B" indicates "B-body" or in other words, a full-sized Chevy. So why is it correct for a Chevelle or mid-size "A-body" ?

The answer is some of the same audio equipment was shared among different Chevrolet vehicle lines. A full-size (or B-body) Chevy such as a 1969 Impala shared the same AM/FM mono radio with such vehicles as the Camaro and the Chevelle. To keep things simple and costs down, B-body radios such as the AM/FMs were often installed in other vehicles. "B" can also be thought of as the "default" radio to be installed when a vehicle line did not have its very own line of radios. In fact, many Chevrolet vehicles "borrowed" B-body audio equipment at different times in production."


275
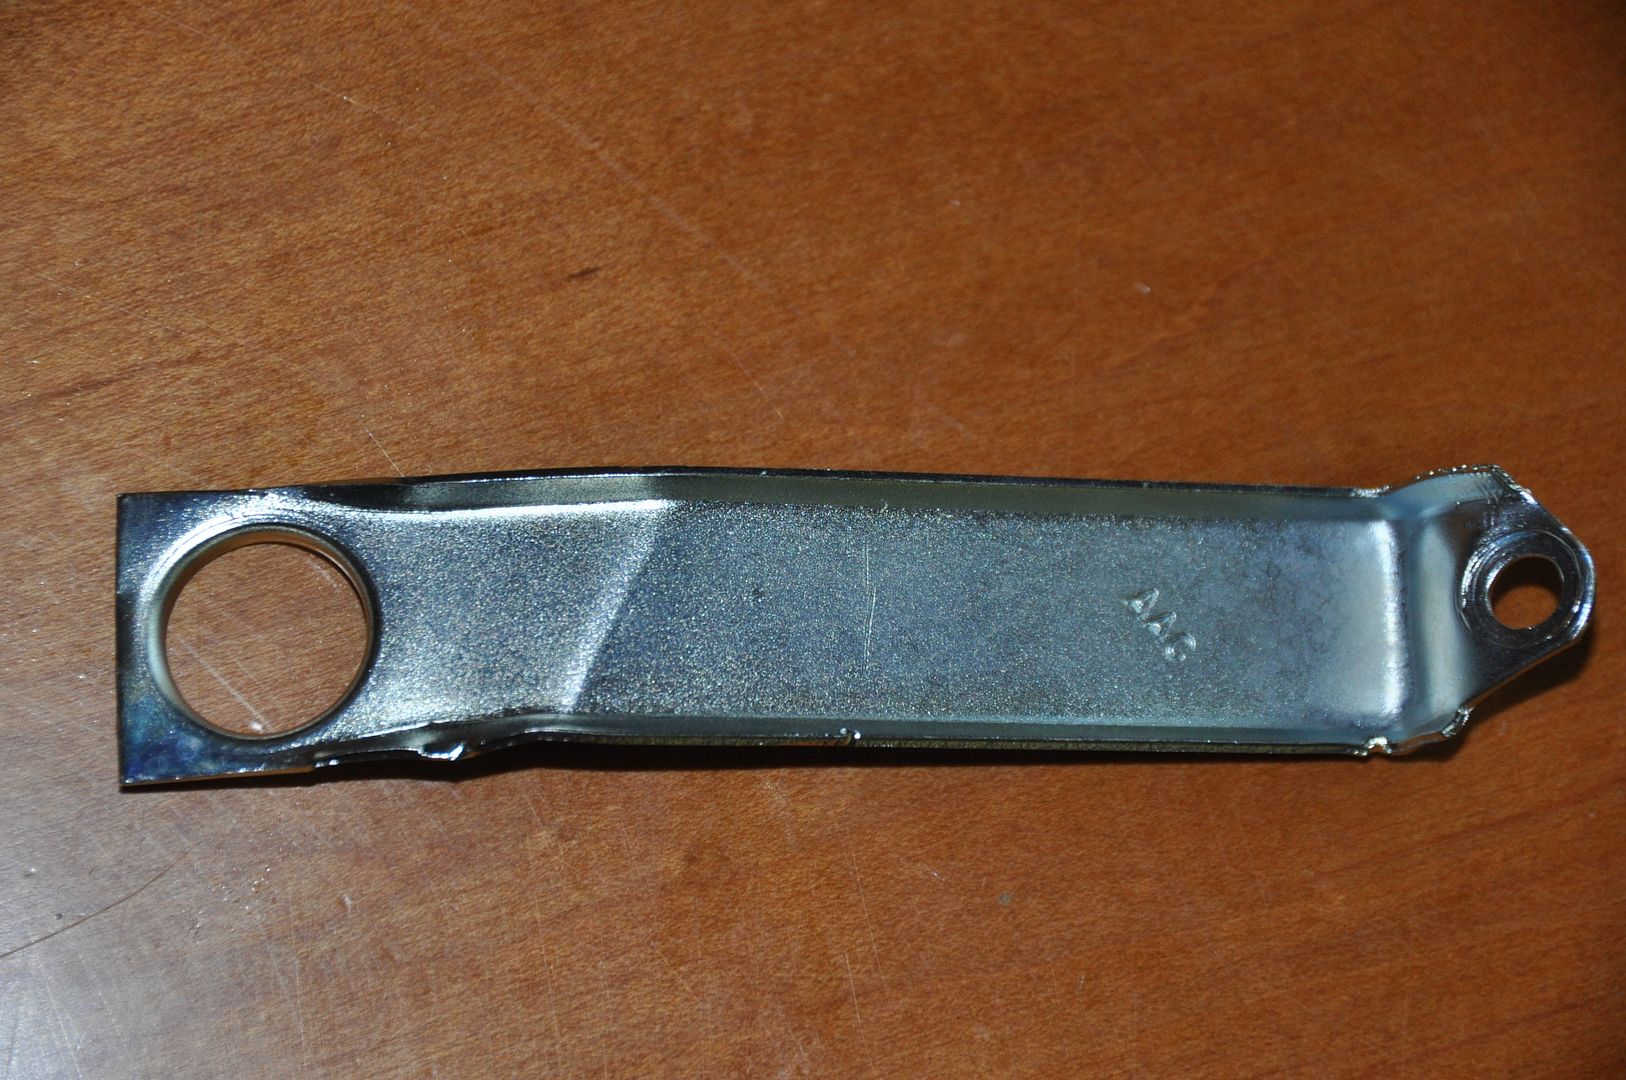
Originality / Re: 1969 Z/28 Power Brake Hose Bracket - Original?
« on: September 24, 2013, 08:14:34 PM »
Had the original on my car re-plated in clear zinc.  Jerry M had it replated as part of the overall engine/trans restoration.


276
Originality / Re: date codes on T3 lamps?
« on: September 24, 2013, 06:26:14 PM »
For reference, here's what the stamp looks like (this one is from my '69 04B VN built Camaro) - original to the car.  I have both if more pics are desired.


277
Restoration / Re: am/fm radio repair
« on: September 24, 2013, 03:39:43 PM »
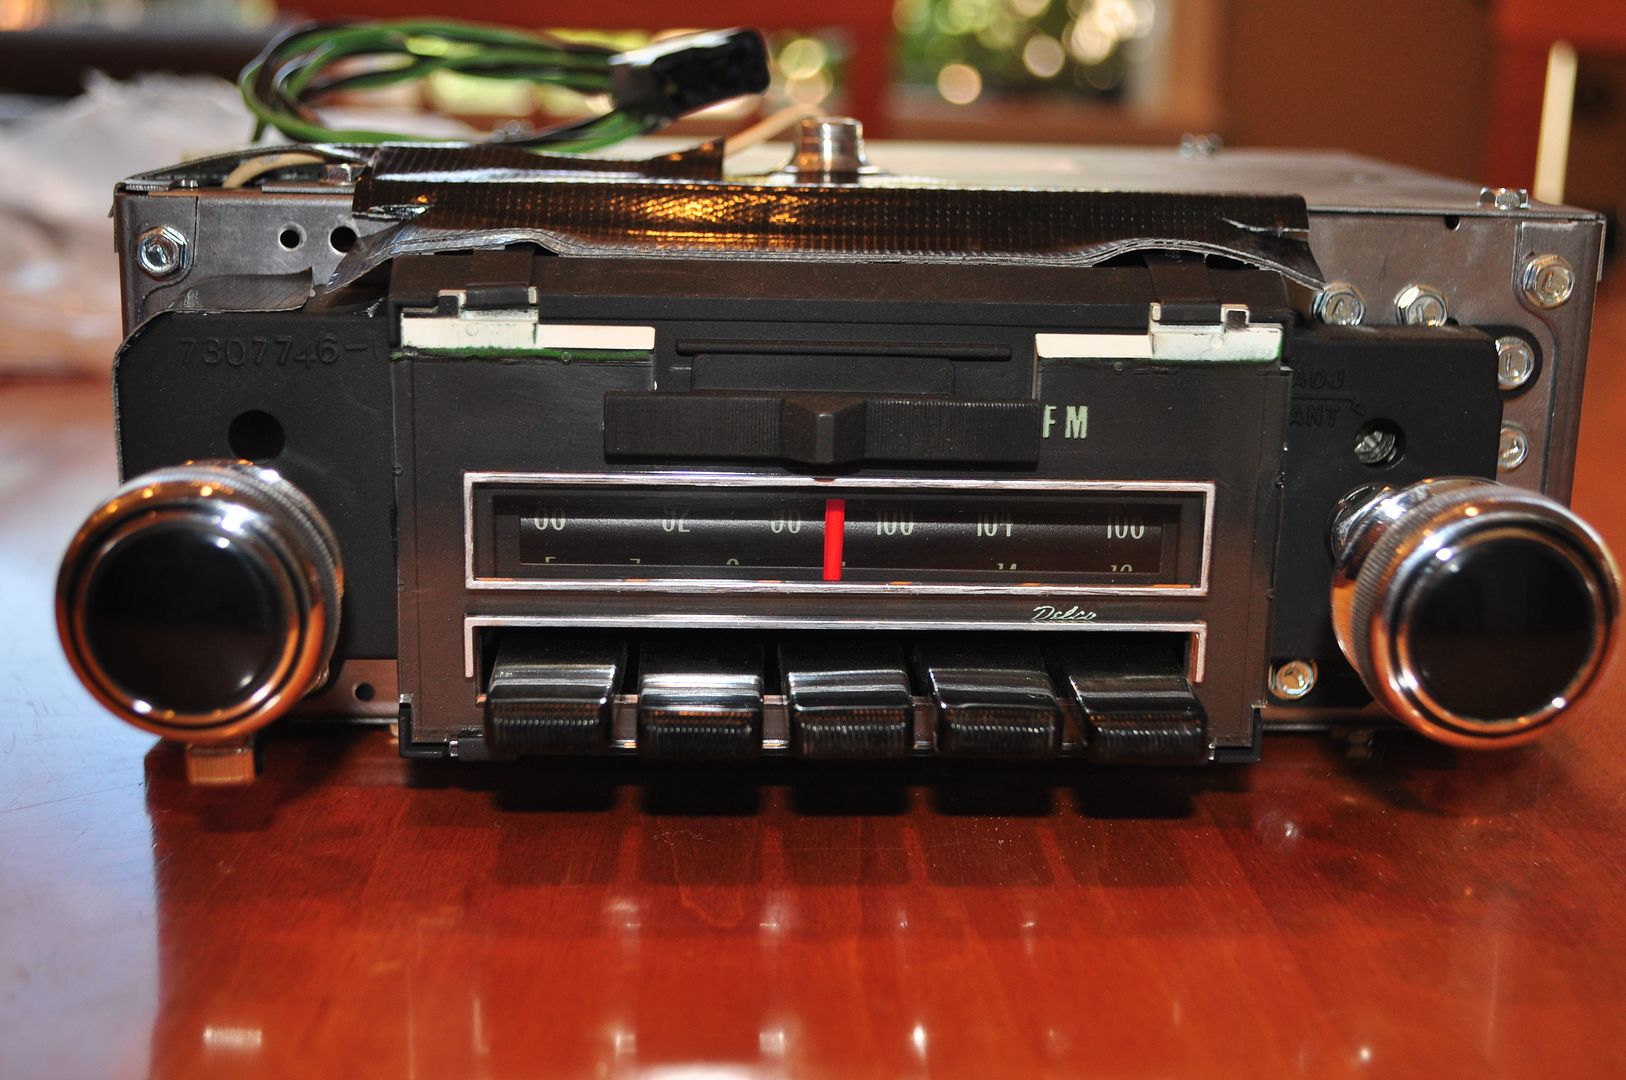
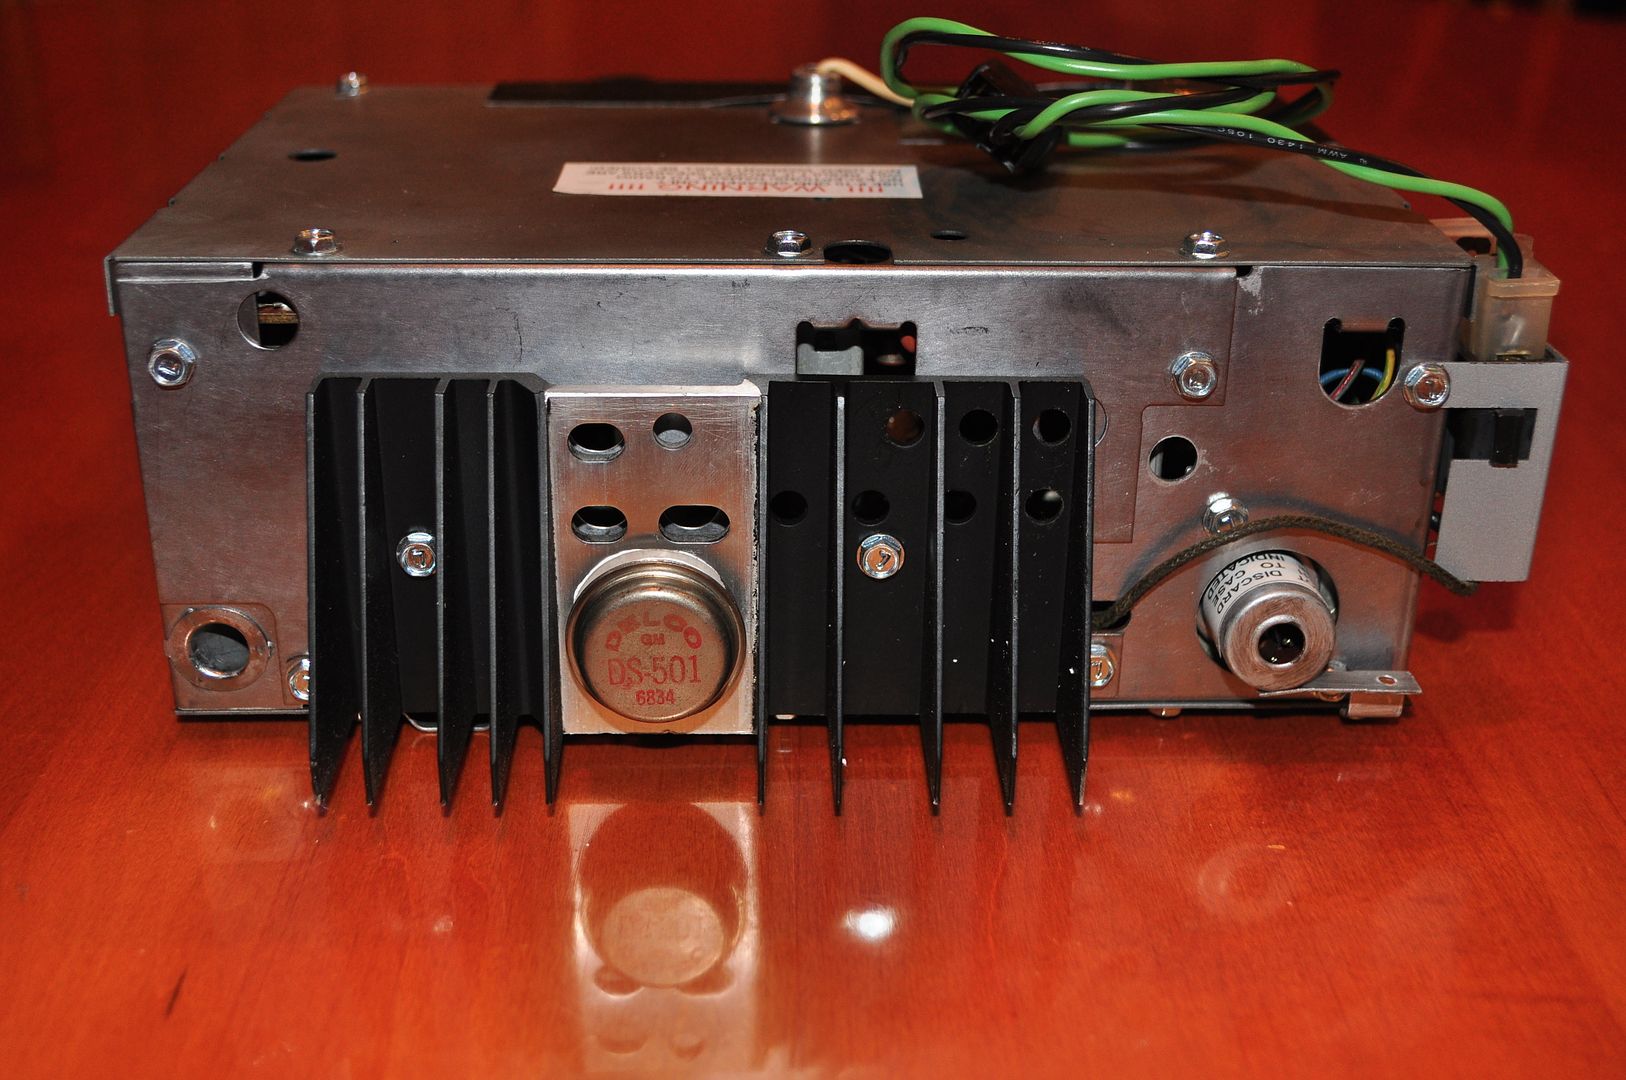
After restoration (Completed March of 2013):


278
Restoration / Re: am/fm radio repair
« on: September 24, 2013, 03:36:59 PM »
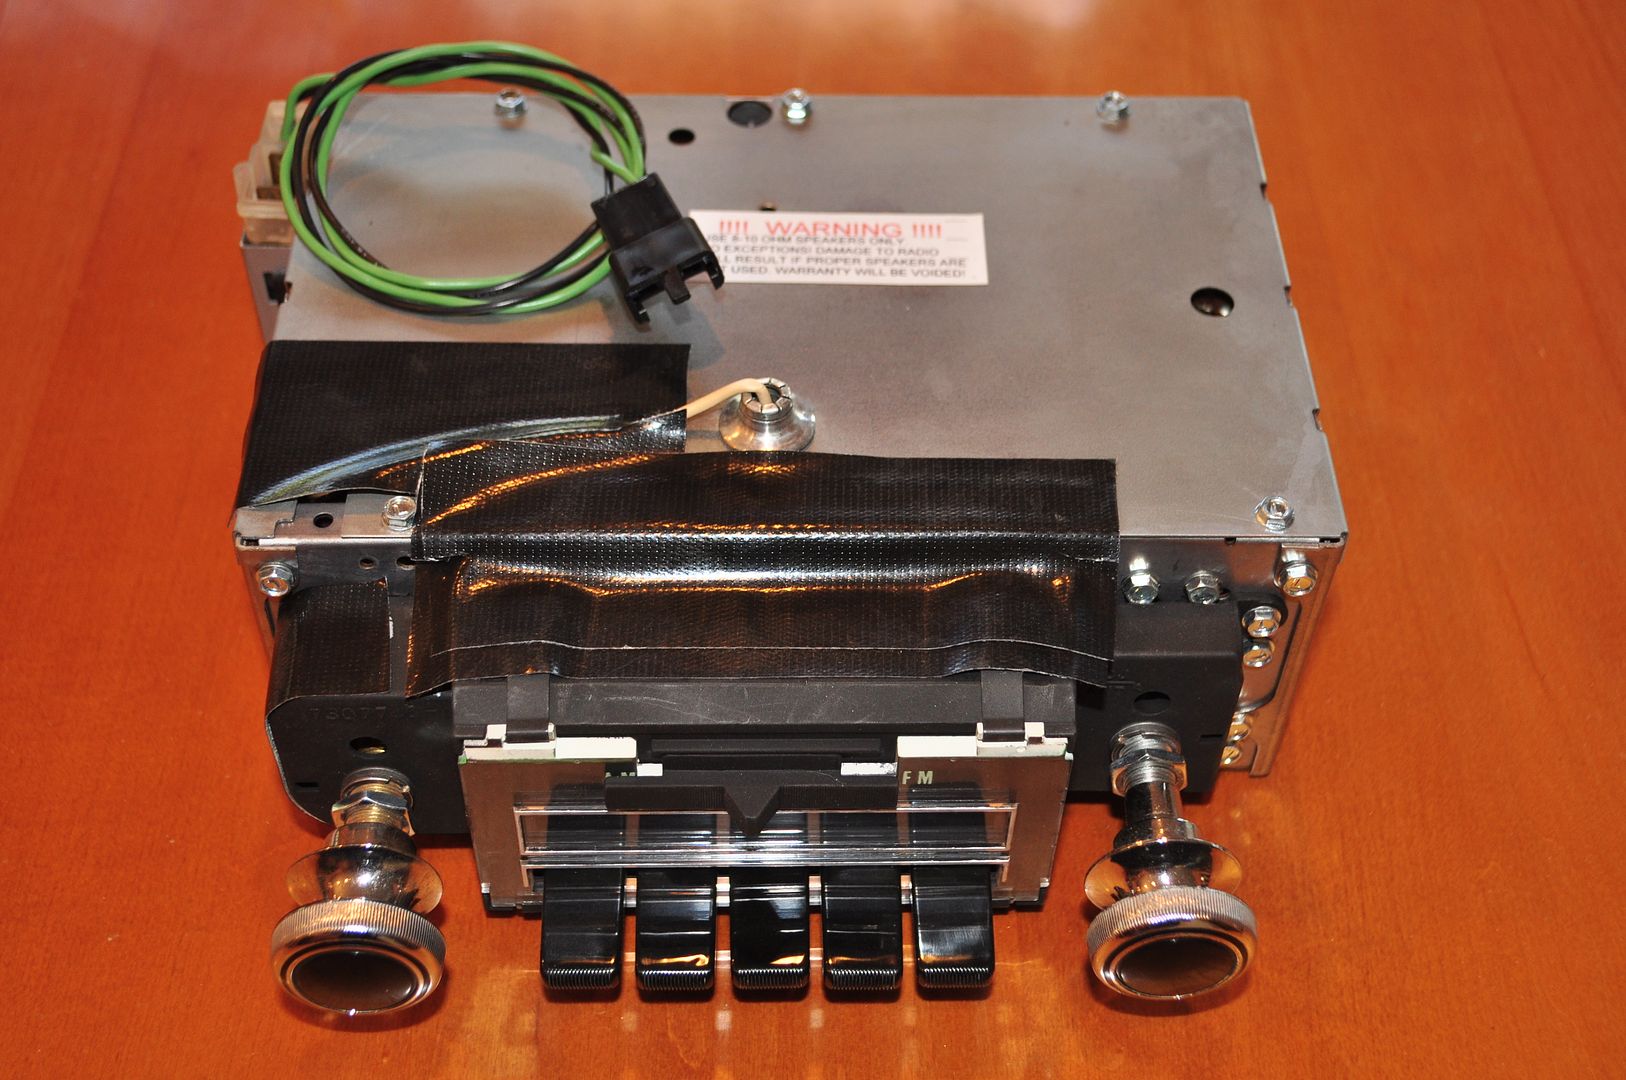
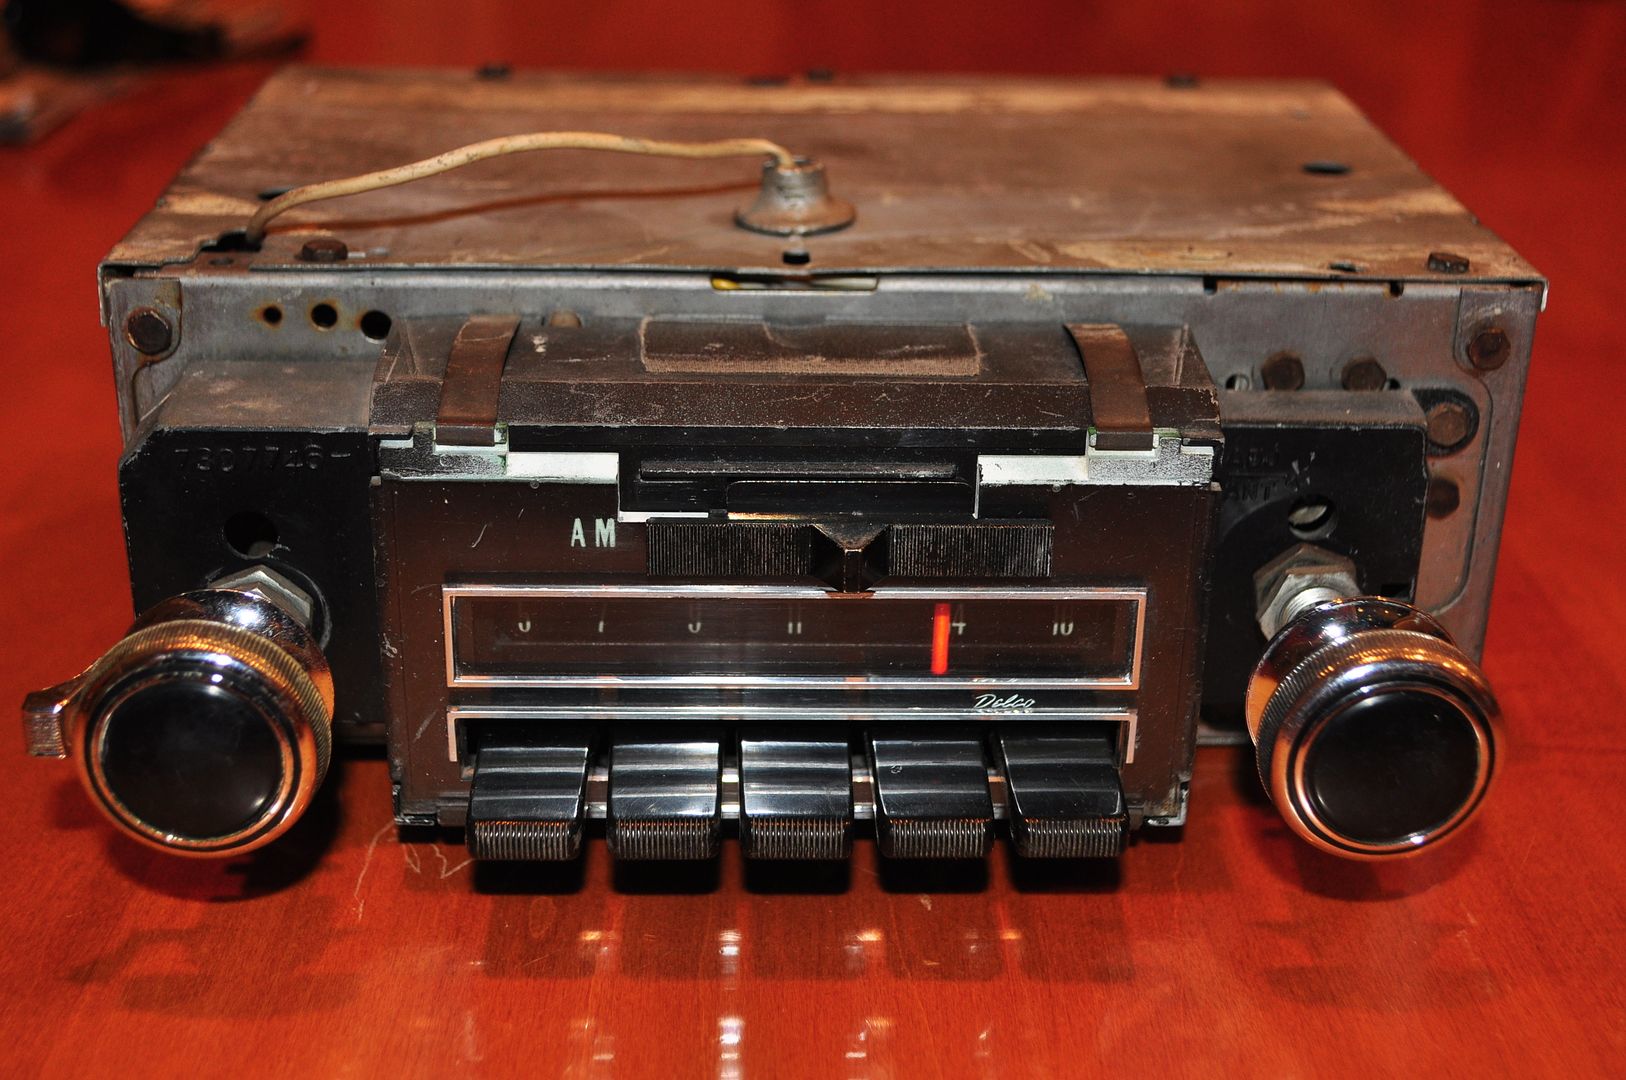
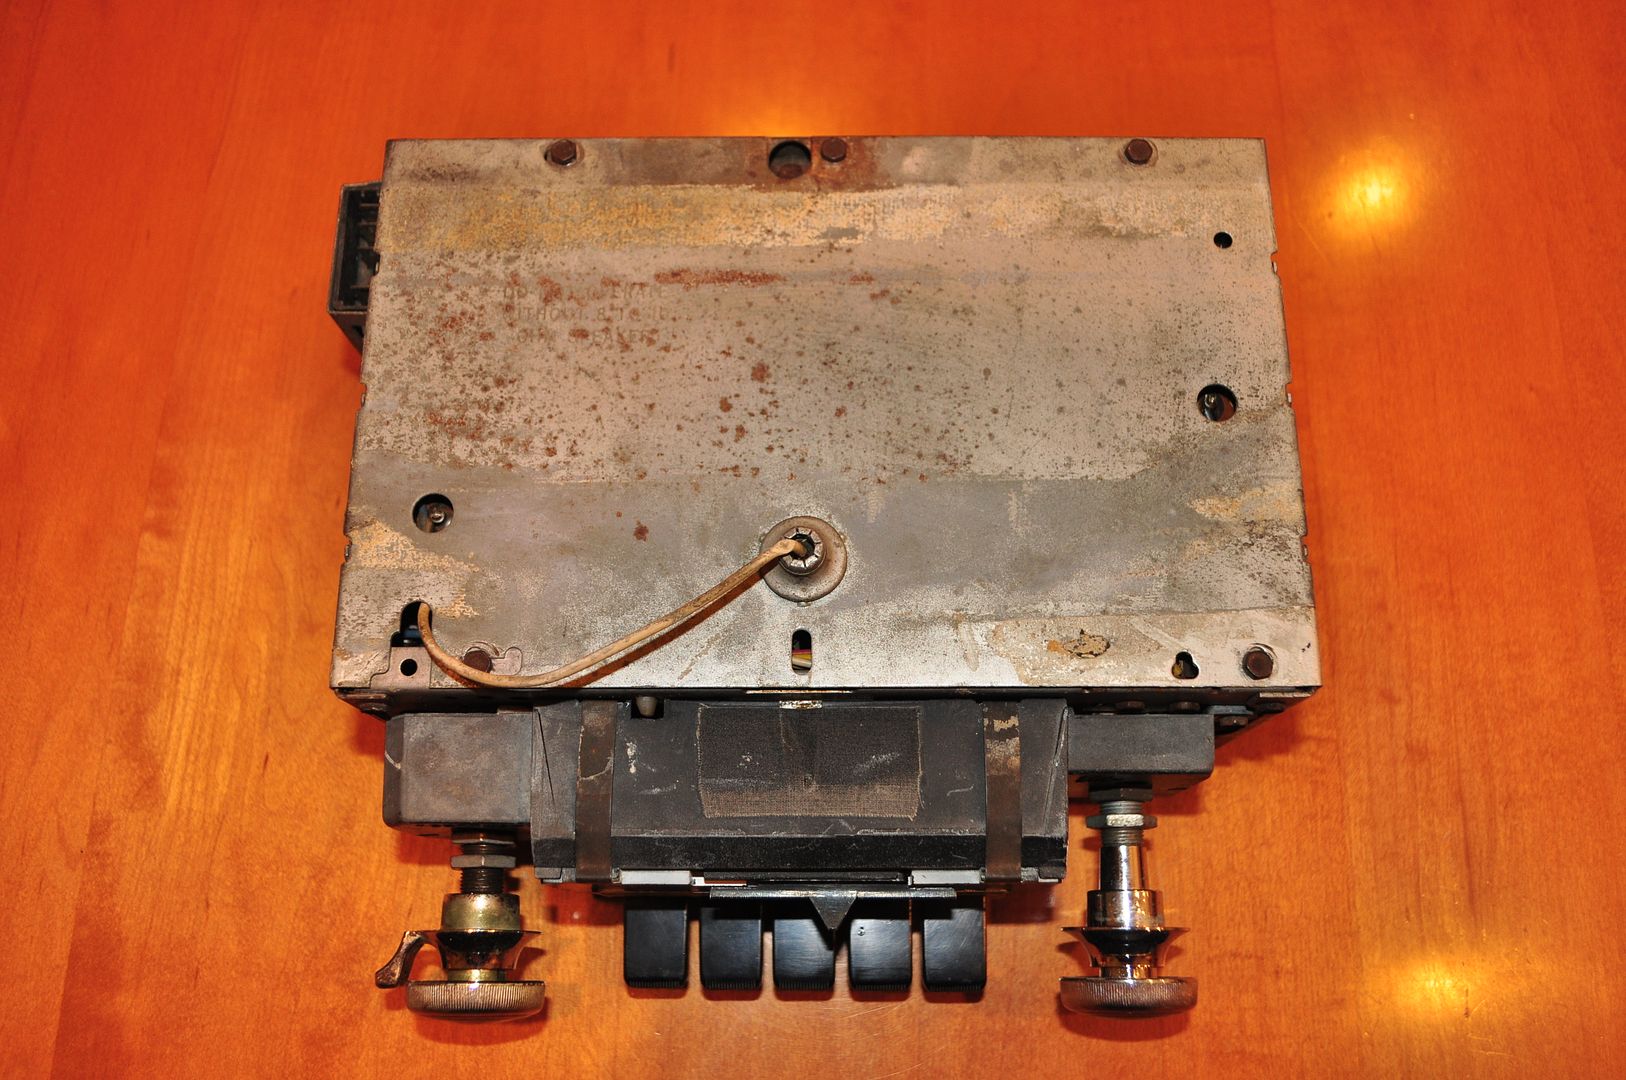
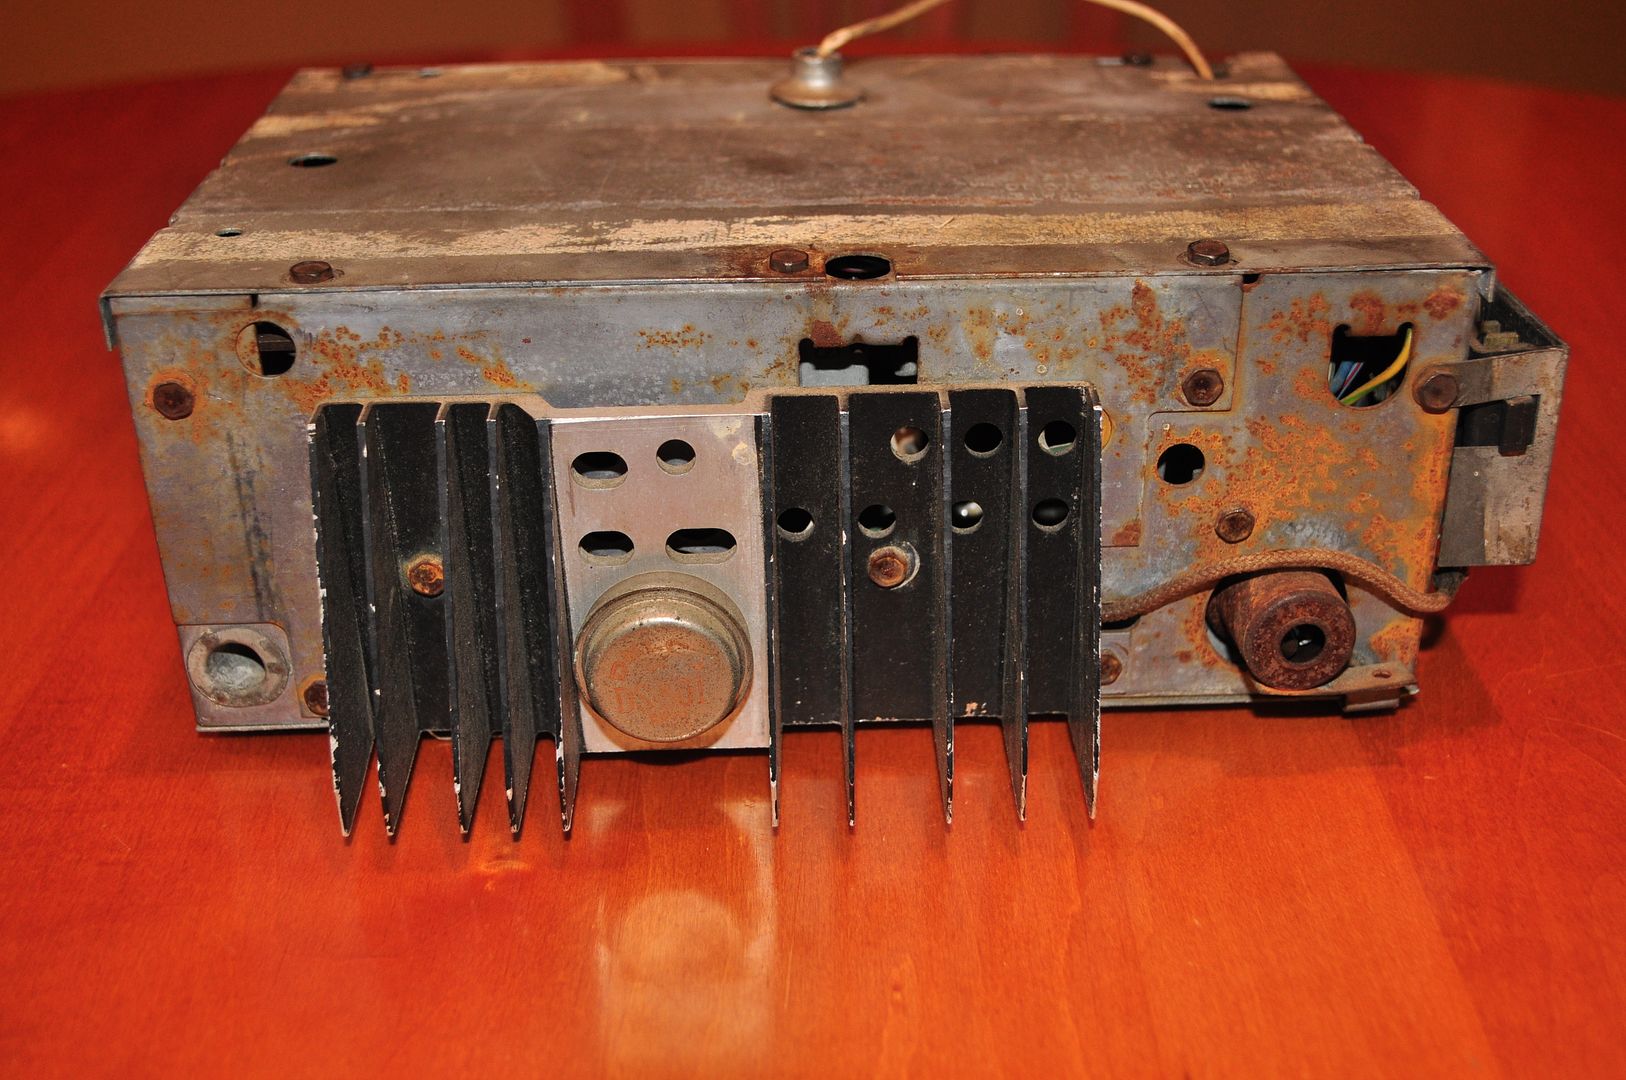
Here's some before:


279
Restoration / Re: am/fm radio repair
« on: September 24, 2013, 03:04:47 PM »
I've had two radios restored by this guy:

Joe Vijil
1833 C Street
La Verne, CA 91750
Phone 626 264-7233
perfectradio@roadrunner.com

First radio was for my Chevelle - basic AM.
The other is an AM FM Mono for my Camaro.

I've been extremely satisfied by the quality of his restorations and attention to detail.

I'll post some before - after pics after I upload them to Photobucket.

280
Restoration / Re: Drive Shaft Restoration
« on: August 28, 2013, 02:39:54 PM »
I used the Evaporust in a 5" PVC tube method to clean up my drive shaft and was amazed at the results. I soaked it for 2 days and rinsed with scotch-brite pad.
Thanks CRG members. Finished pictures & before.  George.

Indeed.  Looks fantastic.   Now I'm gonna have to try this!  One of the last components I still need to restore before putting the whole car back together.

281
Restoration / Re: Steering Column Sticker
« on: August 27, 2013, 05:10:58 PM »
I converted the MS PPT file to a MS Word Doc.   See attached.     Feel free to use for your restorations as needed.

I printed the tag out on both glossy and standard Avery labels.   Not absolutely sure which version to use, but leaning towards the glossy version.   I'll post pics tonight of the two versions printed.   Takes a steady hand to cut 'em out!

282
Restoration / Re: Steering Column Sticker
« on: August 27, 2013, 05:01:50 PM »
Hans,

I mentioned this before, but I thought I had better post this so you can complete your restoration of the column tag(s) - there is a green tag, same overall length and width, just above the firewall boot and below the backup switch as pictured. No printing of any kind visible on the surface, only a bright Rally Green colored tag as shown in the attached pics. Obviously an assembly reference tag of some sort - probably to give a reference to boot placement or column installation position ? You might as well get it completely right when you've gone this far with details. Incidentally, this column has been out of the car since it was disassembled and stored in 1980 -

Regards,
Steve

Very interesting.   Would be pretty easy to replicate as well.    I don't remember seeing any trace of this tag on my column.  I'll double check pictures I took.   Really appreciate it!

283
Restoration / Re: Steering Column Sticker
« on: August 25, 2013, 10:19:46 PM »
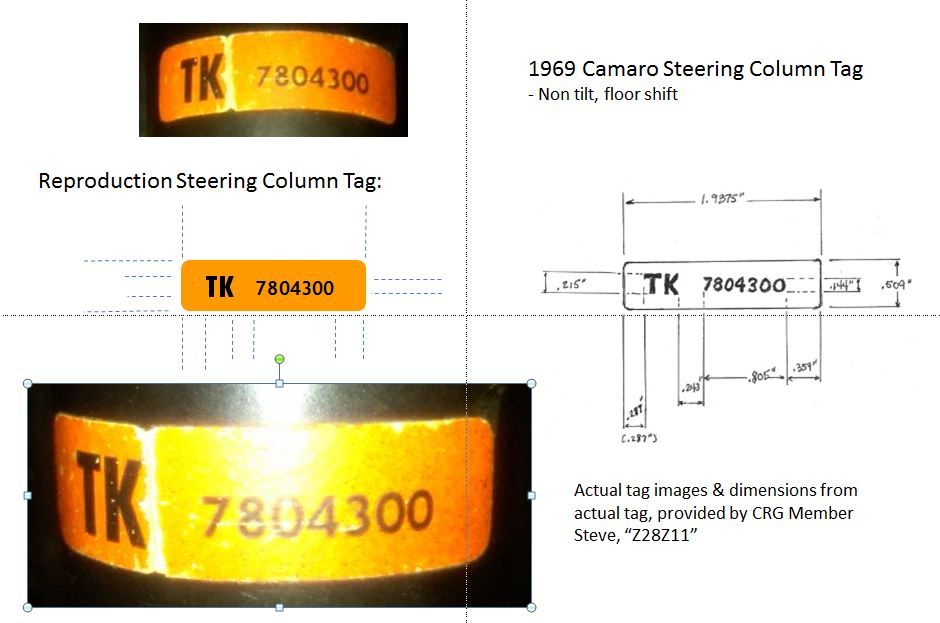
Here's the latest - I scaled it to the dimensions Steve provided (much appreciated!!).  Test printed and I think the dimensions are pretty close.   I did change the "4" font to a different style ("KaiTi") which seemed closest to the original.     Off to Staples to find some sticker paper.   Appears the original paper had a slight gloss/sheen to it, so hope to find something close.


Looks like I can't post  MS PPT.  I'll convert it to a MS Word file and post that later.

284
Restoration / Re: Steering Column Sticker
« on: August 25, 2013, 03:46:04 AM »
Try this. I apologize for the freehand (my graphic arts are a little rusty, but you have to remember I was out of school pre-computer and pre-CAD). Measurements are as close as I could measure them - +/- .001".

Hope this helps - be sure and post your final design.

Regards,
Steve

Thanks Steve!   I'll size it tomorrow and post the results.

285
Restoration / Re: Steering Column Sticker
« on: August 24, 2013, 11:16:04 PM »
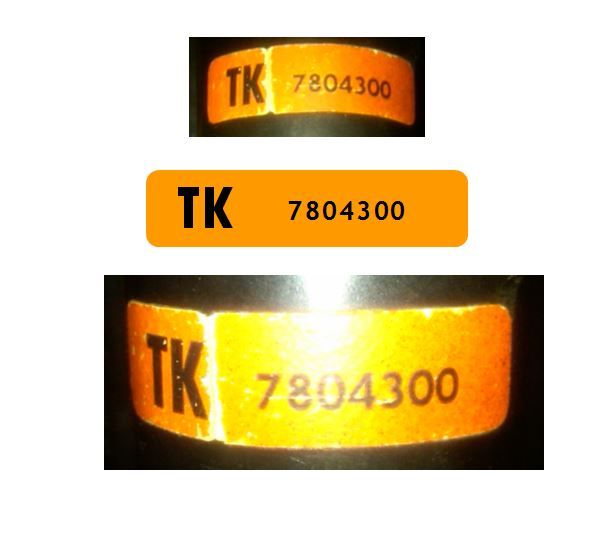
Appreciate all the input - here's my first pass at a reproduction, using MS Powerpoint.    Struggling to find exact fonts as the "4" differs the most.   

I used "Tw Cen MT Condensed Extra Bold" for the "TK" and "Trebuchet MS" for the numbers.   I played around with font spacing between the characters as well in an attempt to mimic original spacings.

Still playing around, but here's a start:


Next:  Need to scale for the correct dimensions.   Measurements anybody?   I can probably use the pics and use the electric connector as a reference point.

Thanks again!

Pages: 1 ... 17 18 [19] 20 21 ... 26