Show Posts

This section allows you to view all posts made by this member. Note that you can only see posts made in areas you currently have access to.


Messages - Damon

Pages: [1] 2 3 ... 5
1
General Discussion / Clutch fAan vibration
« on: October 24, 2010, 06:49:14 PM »
Hello-

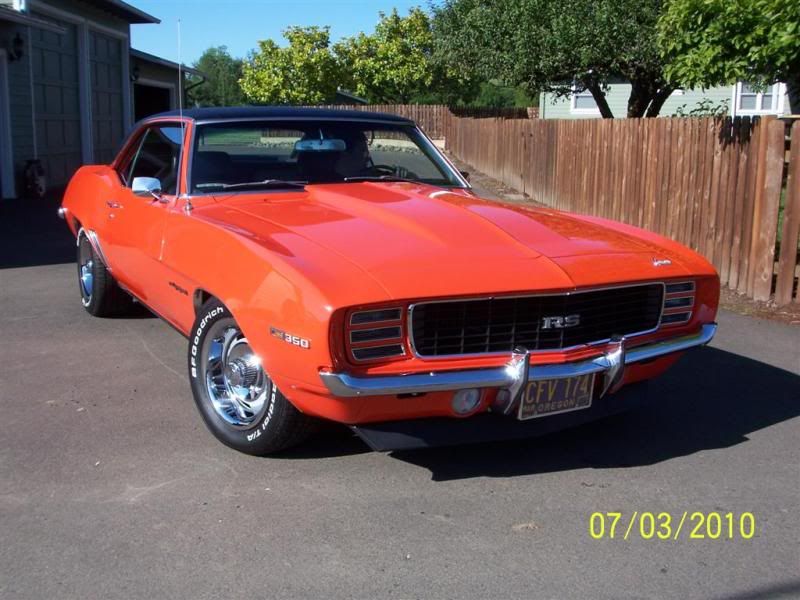
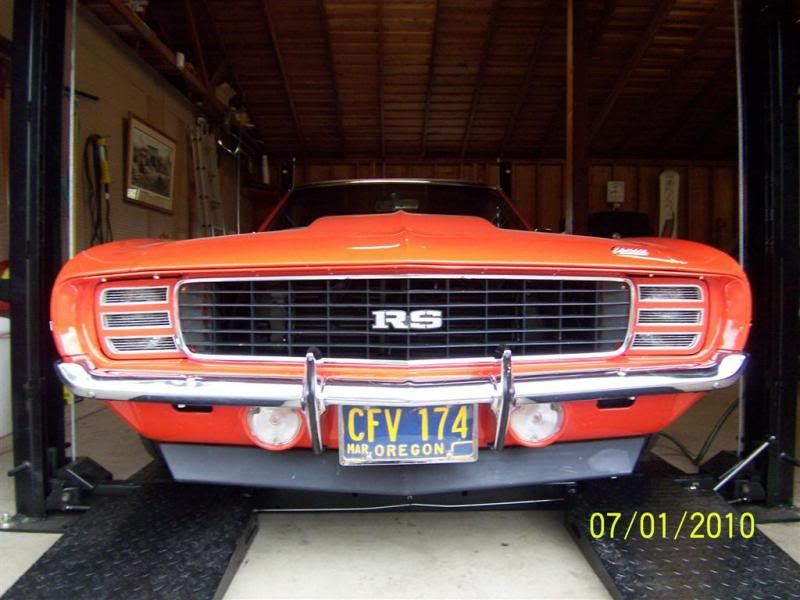
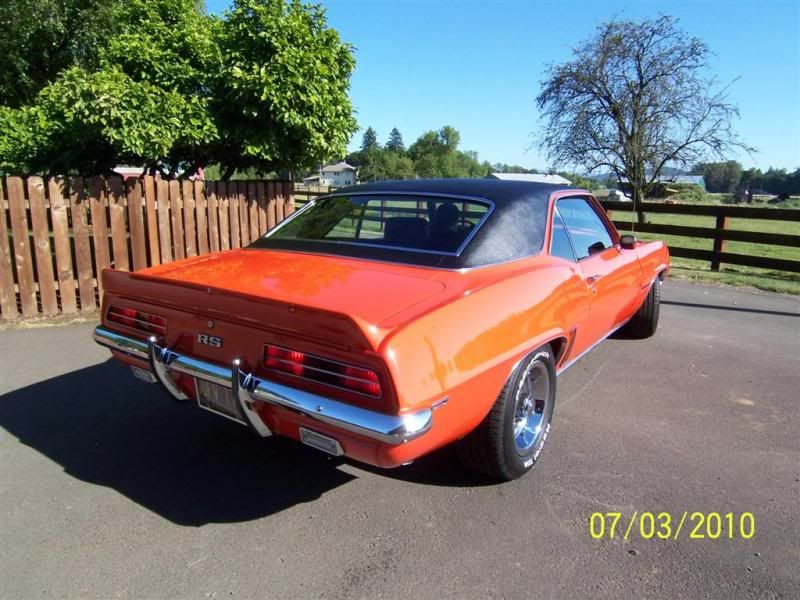
I have a 69 Camaro RS factory AC car with a 7 blade 18" fan.  I restored the car then removed the numbers matching engine and currently have a 383 with the previously mention fan and clutch fan.  Since teh 3783 was in I purchased a new clutch fan but used my existing 7 balde fan.  The clutch fan wore out fast creating a vibration in specific RPM ranges.  I replaced the clutch fan with a new one using the same blade.  Now the new one has worn out and started to vibrate again.I removed the clutch fan and blade and vibration is gone.  My question is could my original 1969 7 blade 18" fan be out of balance causing the clutch fans to fail or have I had a string of bad luck with the 2 new clutch fans?  The clutch fan part # is 27071397 and I believe it came from Car Quest.

If replacement is necessary for both what would you run for a blade and clutch fan? Is there a better brand?

Thanks

2
General Discussion / Stahl or Lemon Header pictures
« on: October 02, 2010, 04:27:20 PM »
Hello-

Anyone have pictures of Stahl or Lemon headers installed?  My car is a 69 Camaro with factory AC and power steering, SBC.  Interested in viewing the final result.

Thanks,

Damon Rapozo

Damon.Rapozo at clearwire.net

3
Restoration / Re: Camaro Update
« on: July 20, 2010, 04:08:09 PM »
Yes we are, I am ordering some Stahl headers this week to replace the Sanderson block huggers.  I hope they fit nice with the factory AC and Power Steering...  Should wake up the 383 a bit too.

Thanks

4
Restoration / Re: Camaro Update
« on: July 07, 2010, 04:12:52 PM »
Hello-

Yes the shifter lens is aftermarket as I installed a 383/700R4 trans for fun. The original numbers mathcing 350/350 have been rebuilt and are sitting in the shop. Since my last post I decided to have the car stripped and painted.  The dealer add door ding bumpers drove me crazy, I could not get past them. Car was stripped and found to have a rusty pass. quarter panel and trunk floor edge.  We installed a new pass side quarter skin and a new trunk floor. I love the look with the door ding strips removed. I took this oppurtuniy to replace the body seals, window rollers, felt strips, and vinyl top as well.  On the interior I did a new carpet kit, steering wheel, and dash pad (factory AC).  As you may have read I also replaced everything on the vacuum headlights and now they function great.  Enjoy the pics.

Damon


5
Restoration / Re: 69 RS Headlamp Help
« on: July 06, 2010, 09:00:08 PM »
Thanks Guys, yes the new cans were in fact to long.  I moved the rear bracket back about 1/2" and that gave me a nice adjustment range.  All fixed and working now.  Had the car painted over the winter as well, no more dealer installed door ding moldings ;-)!


6
Restoration / Re: 69 RS Headlamp Help
« on: June 28, 2010, 03:00:38 AM »


7
Restoration / 69 RS Headlamp Help
« on: June 27, 2010, 08:26:45 PM »
Hello-

Everything is new (vacuum) and I have two issues. The first is my doors do not fully close, how to I adjust that?  I have the vacuum cans all the way back but I am still need about 3/4" more to get both doors fully closed.

Thank in advance!

Damon

8
Restoration / Trim around vinyl top
« on: January 16, 2010, 10:22:41 PM »
Any tips on how to remove all trim SS trim around my vinyl top? Getting ready for paint!

Thanks,

Damon

9
Restoration / Re: DIY dash 69 Camaro RS with AC
« on: October 11, 2009, 03:44:58 PM »
Yes sir, dash pad

10
Maintenance / Blower Fan to Heater Core...
« on: October 10, 2009, 10:21:06 PM »
I have been enjoying my Camaro, running good and getting it debugged before the seasonal Oregon monsoon starts (Tuesday)!  Before my 2009 chassis resto, remember this car was sitting since 92.  It was a bit chilly last week one morning so I turned on the blower fan and it made about 3 revolutions and said "see-ya".  So I thought, no big deal, I will stick a new one in.  2 days later...  What a job!  You have to remove the fender, in order to do that you have to remove the grill, in order to do that you have to remove the bumper.  Keep in mind this a an AC car.  When I finally arrived at the blower fan, I thought I would be a complete moron if at this point I dont go a little farther and do the heater core.  Did that, of course all the felt on the ducting was shot years ago.  Changed that, cables looked great, original heater core was seeping, anyway I did it all and took my time going back together.  Changed that one lower 5/8" heater hose while it was easy.  Vacuumed everything out good as well.  On the assembly side I installed new bushings in the RS headlights and arms, fixed a few broken bolts I found on the way, new headlights, etc.

Heater works great now but I have a new arsenal of questions:

My car has the fan speed selector that moves horizontal.  Starting from the left is off, low, medium, high, then off again?  Is the fan a 3 speed with an off or a 4 speed and I have no "high"?

Since its resurection I have had this weird noise that got worse as I sped up.  Disconnnected the speedo and that was it.  Can these be rebuilt, sent out, or what are the options?

Now that my headlights have all new bushings they need a little adjusting as niether side fully closes now.  Any idea where you adjust the range of motion?

Side Note.  I had a weird vibration at 1200 rpms, before or after that is was smooth.  Defective clutch fan was the culprit.

I need new door glass weatherstripping, the one on the car that the door glass is supposed to seal against when doors are closed.  Who is the best source and any tip/tricks on replacing them?

Thanks,

Damon


11
General Discussion / Re: Engine Mounting
« on: September 30, 2009, 04:45:03 PM »
HI Mark,

Will measure that.  Yes you shroud looks thicker to mine as half of my fan sticks out where it appears your fan all in the shroud.

Damon

12
General Discussion / Re: Engine Mounting
« on: September 29, 2009, 03:14:18 PM »
Mark,

Thanks!  Here is what I came up with:

Update 2,

Firewall to center of air cleaner stud 11.5" (you had 12.5")

Center of air cleaner screw to shroud 19.5"

Firewall to fan shroud 31 1/8" (you had 35.5") Maybe my shroud is thicker?

Firewall to hood latch 40 5/8"

Firewall to Shroud screw 35 1/2"

Alt Braket to fan shroud 4 11/16" (you had 3")

What do you think?

Thanks Mark!,

Damon


13
General Discussion / Re: Engine Mounting
« on: September 28, 2009, 04:05:03 PM »
Mark,

Thanks!  Here is what I came up with:

Firewall to center of air cleaner stud 11.5" (you had 12.5")

Firewall to fan shroud 31 1/8" (you had 35.5") Maybe my shroud is thicker?

Alt Braket to fan shroud 4 11/16" (you had 3")

I think your stud to fan shroud of 29.88 is incorrect

I did not do firewall to hood latch as I need a better description of where you stopping at the hood latch please.

I love your engine compartment.  I have the original (350 w/ AC) engine all rebuilt and plan to install it someday so I may need your help/pictures when I get to that point, beautiful.

WYKO- Yes, the MSD distributer is taller and it uses a GM cap.  My friend is building a 69 z28 clone with a 302/4 speed and our caps are interchangeable.  He has a solid 1.5" plus between his firewall and Distributer.


14
General Discussion / Re: Engine Mounting
« on: September 26, 2009, 04:39:59 PM »
Thanks Pex-

It appears the block casting number is either "14010207" or "11010207" and also note how much of the fan blade sticks out of the shorud, is that normal? Enjoy the pics and thanks again.


15
General Discussion / Re: Engine Mounting
« on: September 25, 2009, 08:31:57 PM »
Hvae not measured the pulley to frame yet but I did place a level on the carb and it is very close to being perfectly level when parked on a level surface.  Back to the drawing board...

Damon

Pages: [1] 2 3 ... 5
anything