Show Posts

This section allows you to view all posts made by this member. Note that you can only see posts made in areas you currently have access to.


Messages - Z28Project

Pages: [1] 2 3 ... 15
1
Decoding/Numbers / Re: Caveat Emptor...misleading statement
« on: February 22, 2019, 03:36:45 PM »
Just looked at that fuel gauge.  What a hoot! :)

2
General Discussion / Re: Packard Wires Application?
« on: March 30, 2018, 02:48:05 AM »
Yeah, I think it was usually aftermarket due to no EMI suppression.  So you can listen to your engine rev in the radio speaker ( and so can the radios in cars around you)!

3
Garage Talk / Re: Rare L72 69 Impala SS
« on: February 14, 2018, 02:57:46 AM »
I think it was Car Life magazine that did a test on a 69 L72 Impala pulling a big Airstream trailer. The goal was to hit 100mph (which they did).

John

4
Garage Talk / Re: Rare L72 69 Impala SS
« on: February 11, 2018, 02:09:47 AM »
I love those cars!  I could never undertake a restoration like that, but the idea of a factory 427 L72 Impala 4-spd with no A/C is thrilling to me!

I had a 69 factory 427 Caprice automatic with hideaway headlights that was cool, but nothing like an L72 4-spd.

John

5
Garage Talk / Re: Kudos to the CRG
« on: January 29, 2018, 06:26:33 PM »
Unfortunately that area is not original on this car.  It was converted to a drag car in 1971 and for easy shifter/trans access they cut the tunnel away, so I had to replace that by buying a one piece floor pan and cutting out a section to replace the missing metal.

Here's how it was when I brought it home in 2016:


To answer your question though, from the one I had many years ago with factory console, I believe the hole was rough cut as you described, and the only difference between non-console and console cars was that the 4-hole boot hold down ring was chrome vs. black painted, IIRC.

John

6
Garage Talk / Re: Kudos to the CRG
« on: January 29, 2018, 04:30:40 PM »
Yes, that is a good point!  Easy to overthink some of this stuff and miss the simple things.

7
Problem solved!  I found a thread on TC talking about the same issue.  It turns out that the bolts they supply with the transmission are WAY too long.

The linkage hits the long shank of the bolt, stopping the motion.  I had to cut them more than in half to get clearance.  Easy when you know what you're looking for! :)


I think what they are doing is supplying wiper motor mounting bolts since the head and conical star washer are the same for both.  It would be nice if they would maybe supply a little note stating what needs to be done.

Thanks,  John

8
Well shoot.  They look sized ok on my screen.

9
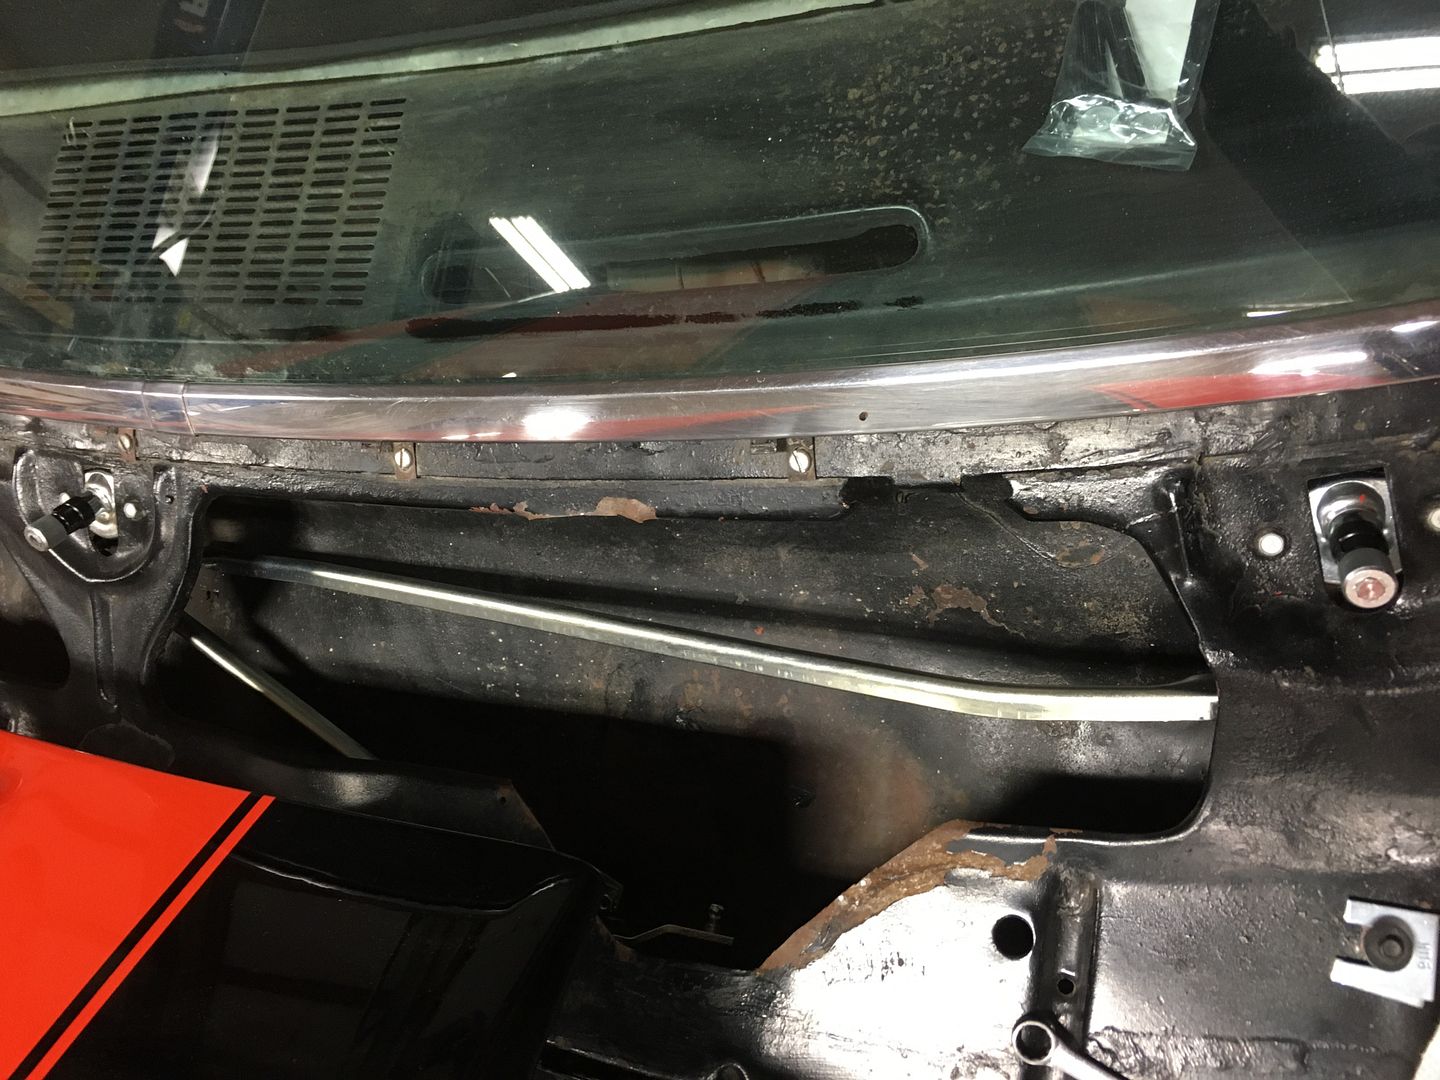
Maintenance / Help with windshield wiper transmission (linkage) 69 Camaro
« on: January 05, 2018, 11:11:27 PM »
I'm stumped.  Either something isn't right with the linkage or I'm missing something obvious on putting this together.
The car had no wiper parts at all when I got it so I don't have anything to compare to, but yet it seems simple enough.

After installing the wiper motor and the transmission, if I pull the linkage all the way to the driver side I'm about 1/4" from reaching the ball on the motor arm.


If I push the linkage all the way to the passenger side it only goes a little farther than the motor shaft center line.


It seems like it should go as far to the passenger side as the motor crank would reach when the motor rotates.

It all bolted up to the cowl area ok, and resembles the picture in the AIM.


Any ideas?

Thanks,  John

10
Garage Talk / Re: Kudos to the CRG
« on: January 03, 2018, 07:40:10 PM »
Here's a few of the install pics.


As you can see it looks off center to the right and forward when looking thru the original shifter hole.

Then you add the Blackjack shifter link which moves the shifter stick back and re-centers it.


It looks like it's just about perfect now.


Another feature I liked about this kit was the trans cross member.  It's just a simple, nice looking tubular piece.


The rear trans support that comes with some of the other kits looks like something from an Erector set (IMO).

I still have to wire up the backup lights and RLO and it should be ready to go!

John


11
Garage Talk / Re: Kudos to the CRG
« on: December 22, 2017, 04:29:18 PM »
Great info Mike, thanks for sharing, especially about the squareness.

12
Garage Talk / Re: Kudos to the CRG
« on: December 22, 2017, 02:01:35 PM »
Correct, it turned out that I didn't need anything, but I had bought a set of the adjustable pins just in case.

13
Garage Talk / Re: Kudos to the CRG
« on: December 22, 2017, 01:47:26 PM »
Great!  I'll put a bushing back in and move on.  I'll update with pics when I get there.  Thanks for your input!

Gramps:  Agreed, in all of the clutches I've done over the years with Muncies and Saginaws I never worried about alignment either, but the TKO is a more modern close tolerance transmission, and they say it's critical that there is no off center loading on the trans.  So there are good reasons (IMO) that they make these tools and offset dowel pins for the block. 

14
Garage Talk / Re: Kudos to the CRG
« on: December 21, 2017, 11:25:02 PM »
Here's the Browell tool installed on the engine.  The black ring is such a close tolerance to the ID of the bellhousing hole I gotta say I was pleasantly surprised to bolt it all up on the engine and see the ring slide right into the hole!  I had figured that with 1969 technology some adjustment would be needed.


Here is how I set up to press the pilot bearing in.  It felt smooth going in, but afterwards I feel I am distorting the bearing somewhat because it's a lot harder to get the input shaft to slide into it, than it was when the bearing was loose in my hand.


Since everything checked out nice and true, would it be a big deal to just use a pilot bushing instead of the recommended bearing?

15
Garage Talk / Re: Kudos to the CRG
« on: December 21, 2017, 10:30:15 PM »
So far so good.  I got most of the kit but skipped any of the clutch options.  My clutch/pp was already new so all I did was buy a 26 spline disc.
Yes, I got the Blackjack TKO shifter for the 69 Camaro and the round stick.  Hopefully it will look stock from inside the car.
A good friend of mine runs one of the top race transmission shops in the country, so the trans went straight to him when I got it.  It's been upgraded with everything you can do :)    carbon blocker rings, all internal gears and shafts micropolished, and other stuff I don't even know, so it should be good to go.  He says it's much better than stock for high rpm shifting, etc.

Struggling a little with the pilot bearing.  I installed the first one the same way I install the bushings; I use an input shaft and a hammer.  I didn't like the feel of the bearing after that so I pulled it out and then pressed in the next one.  I don't like the feel of that either.  It takes too much pressure to slip the input shaft in and pull it out.  Thinking about just going with a bushing like normal.  Any tips welcome!

Pages: [1] 2 3 ... 15